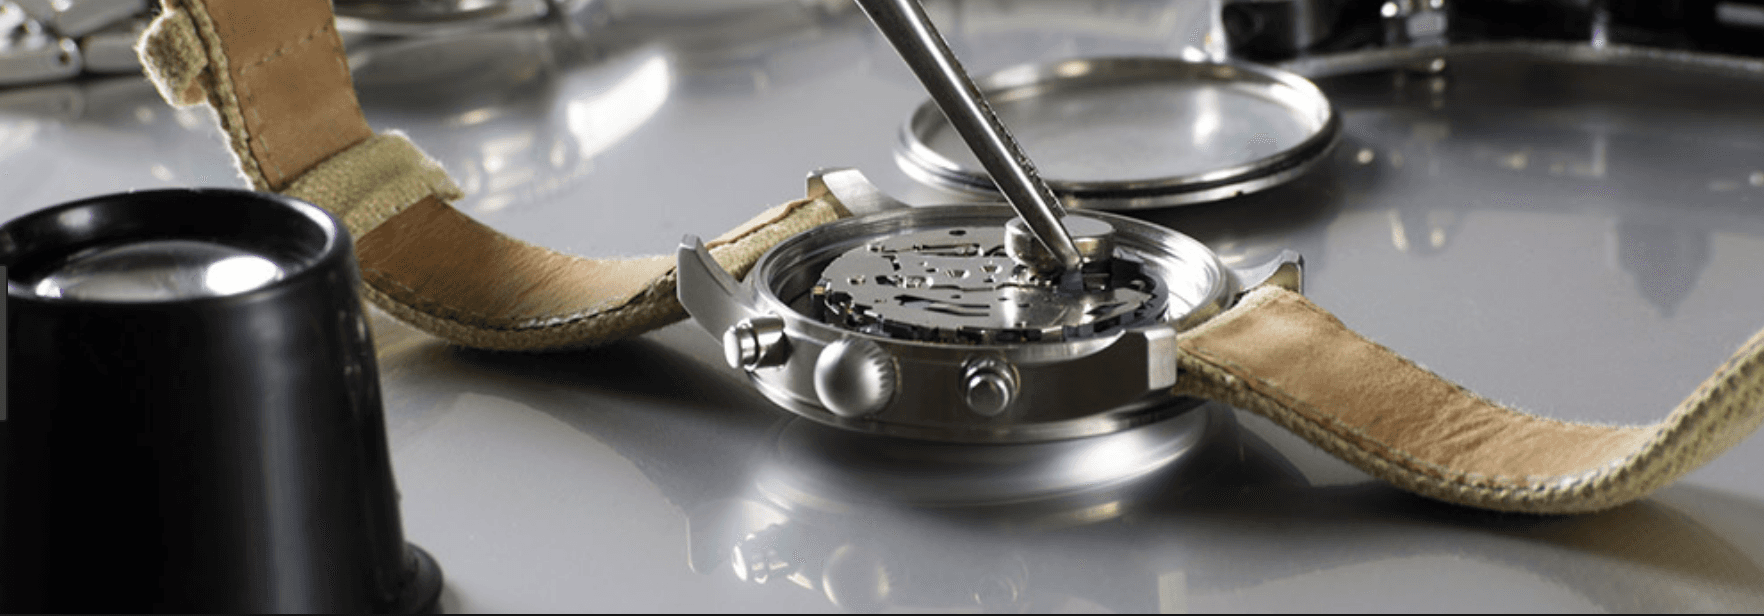
COVID-19 "Lock Down" Project - 1981 Seiko 7009-8210 Restoration (Part 5)
- by Darren Thomson
- •
- 19 Apr, 2020
- •
Part Five - Movement assembly (gear train and winding mechanism)
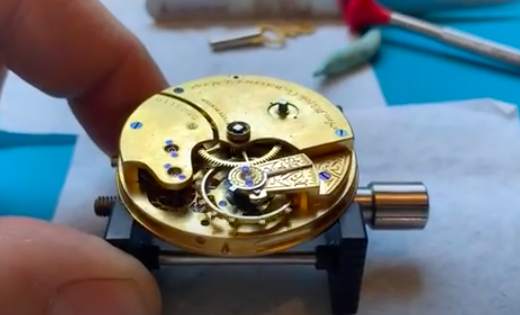
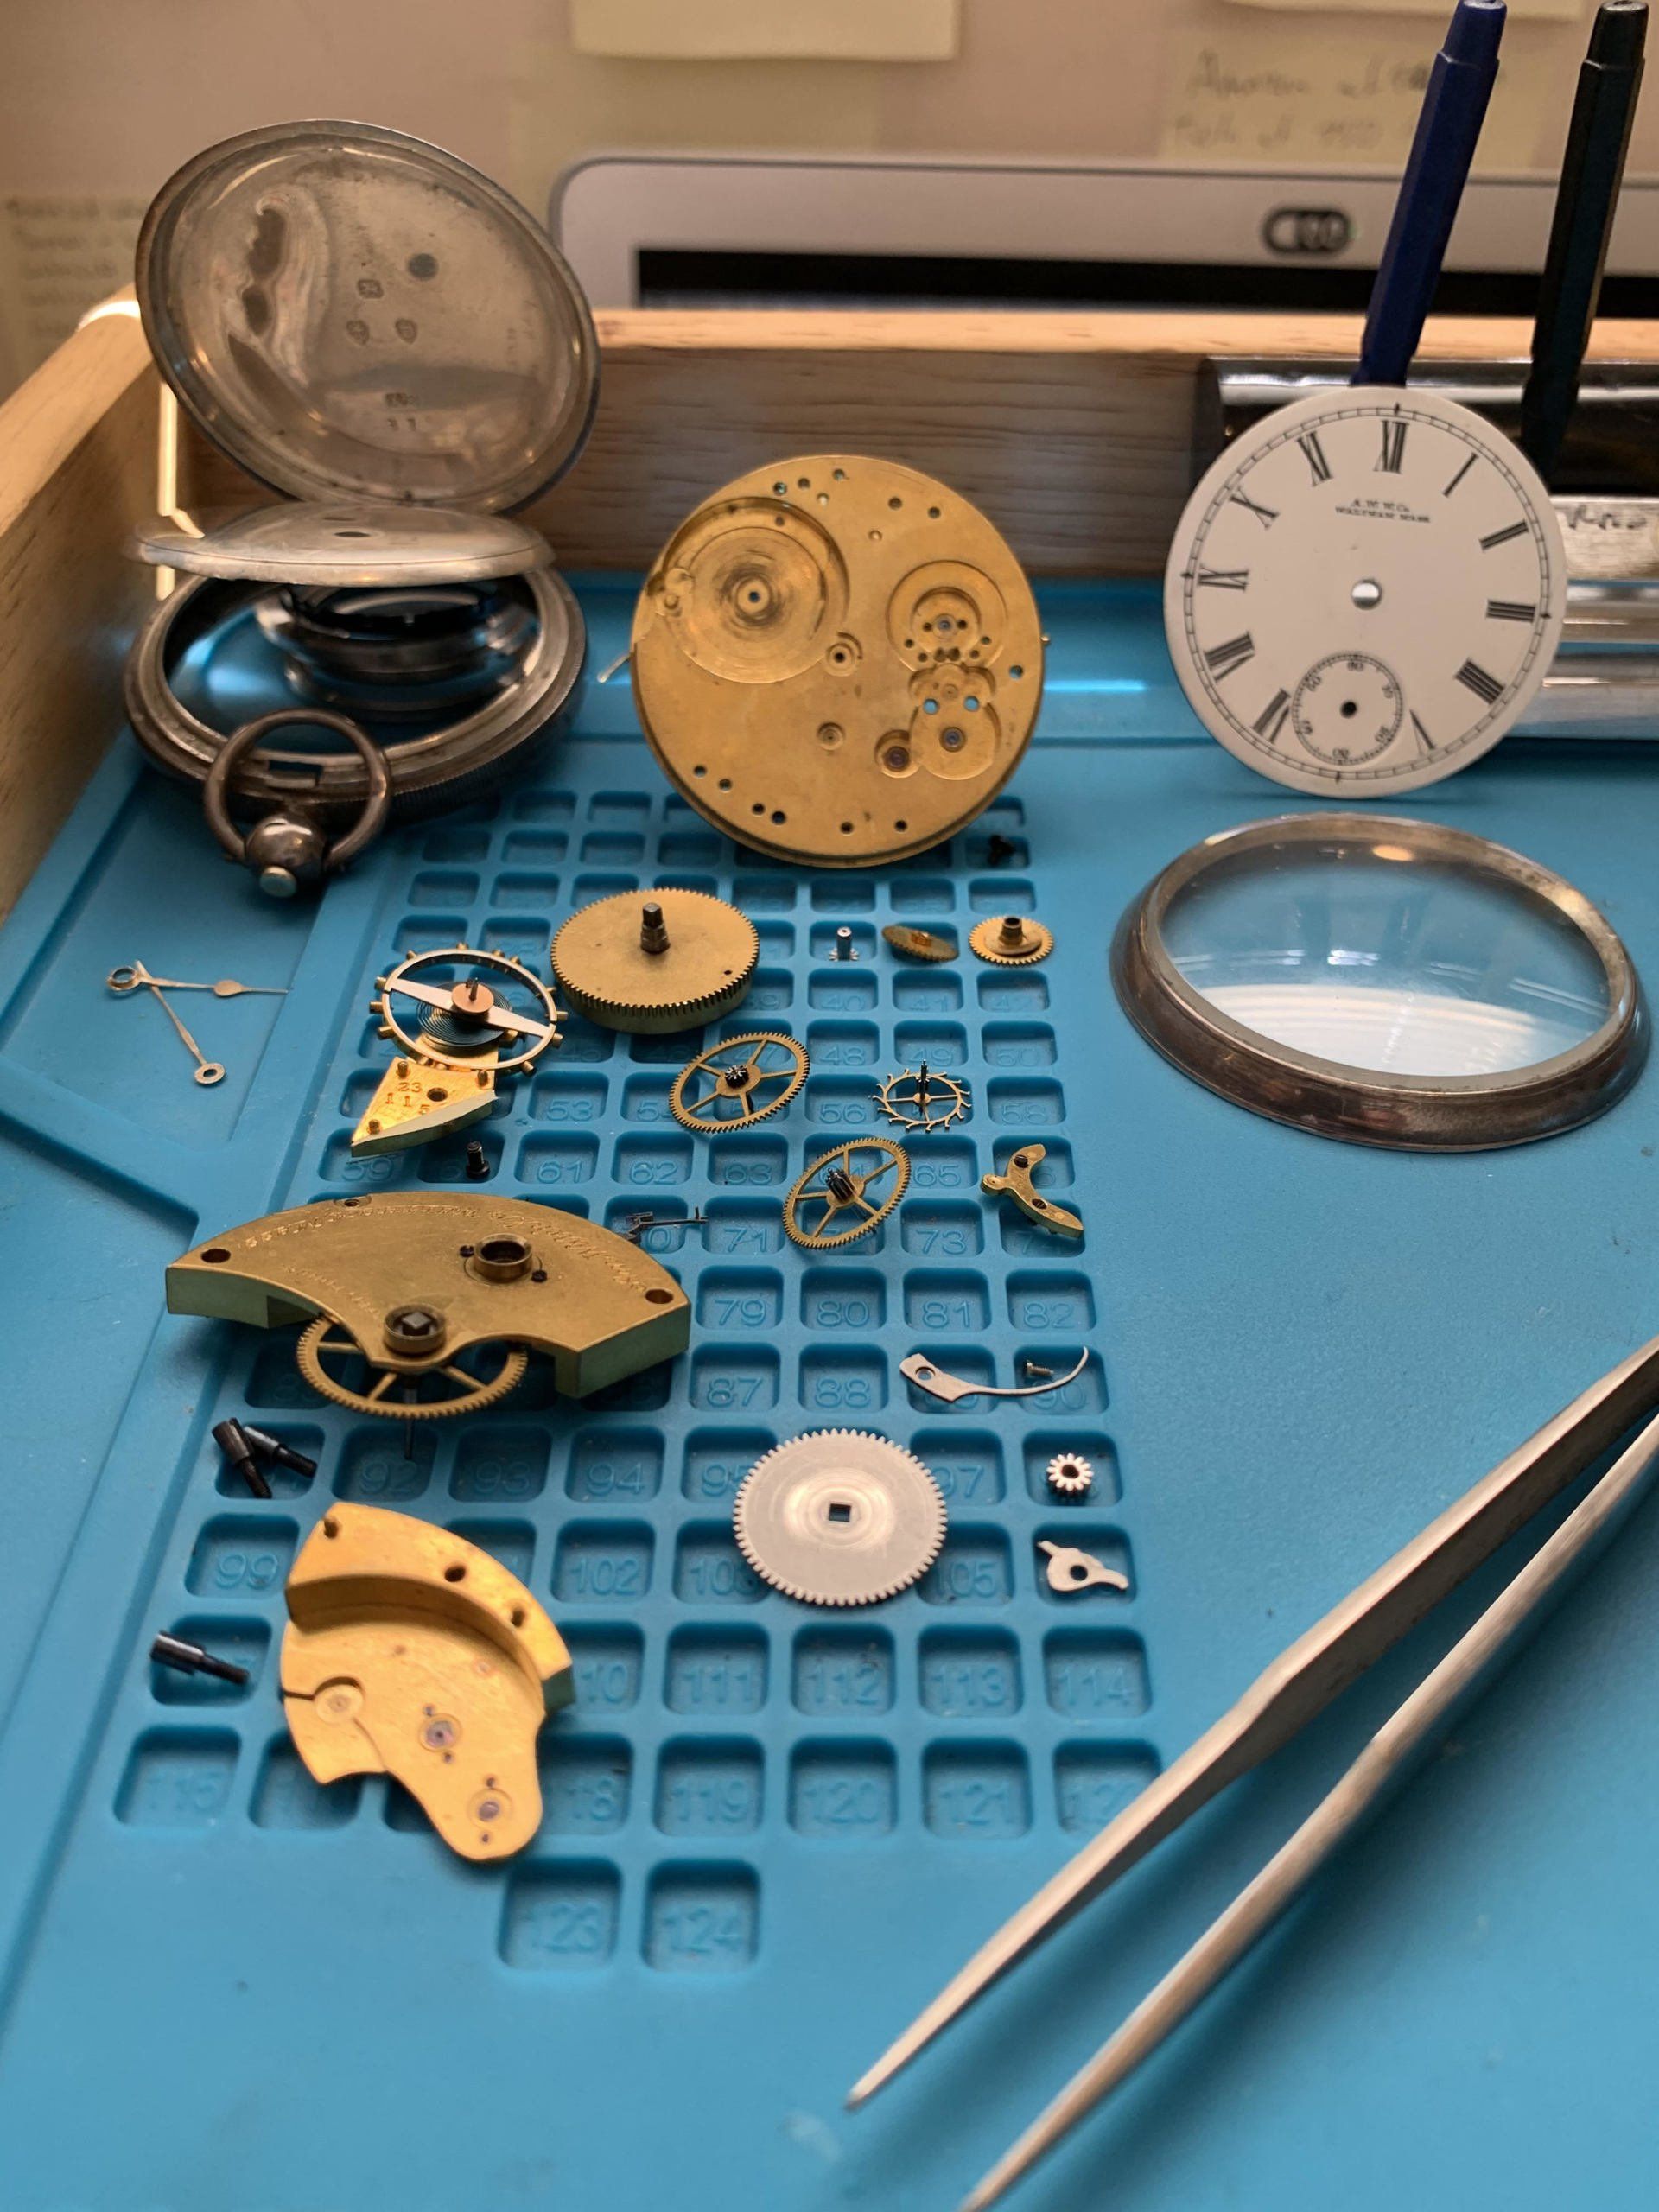
Ok, time to start re-building the movement. We'll start by making sure that everything is "operating theatre clean" (even a tiny hair in the wrong place at this stage will cause problems later) and then position the wheels of the gear train into their respective jewelled holes.
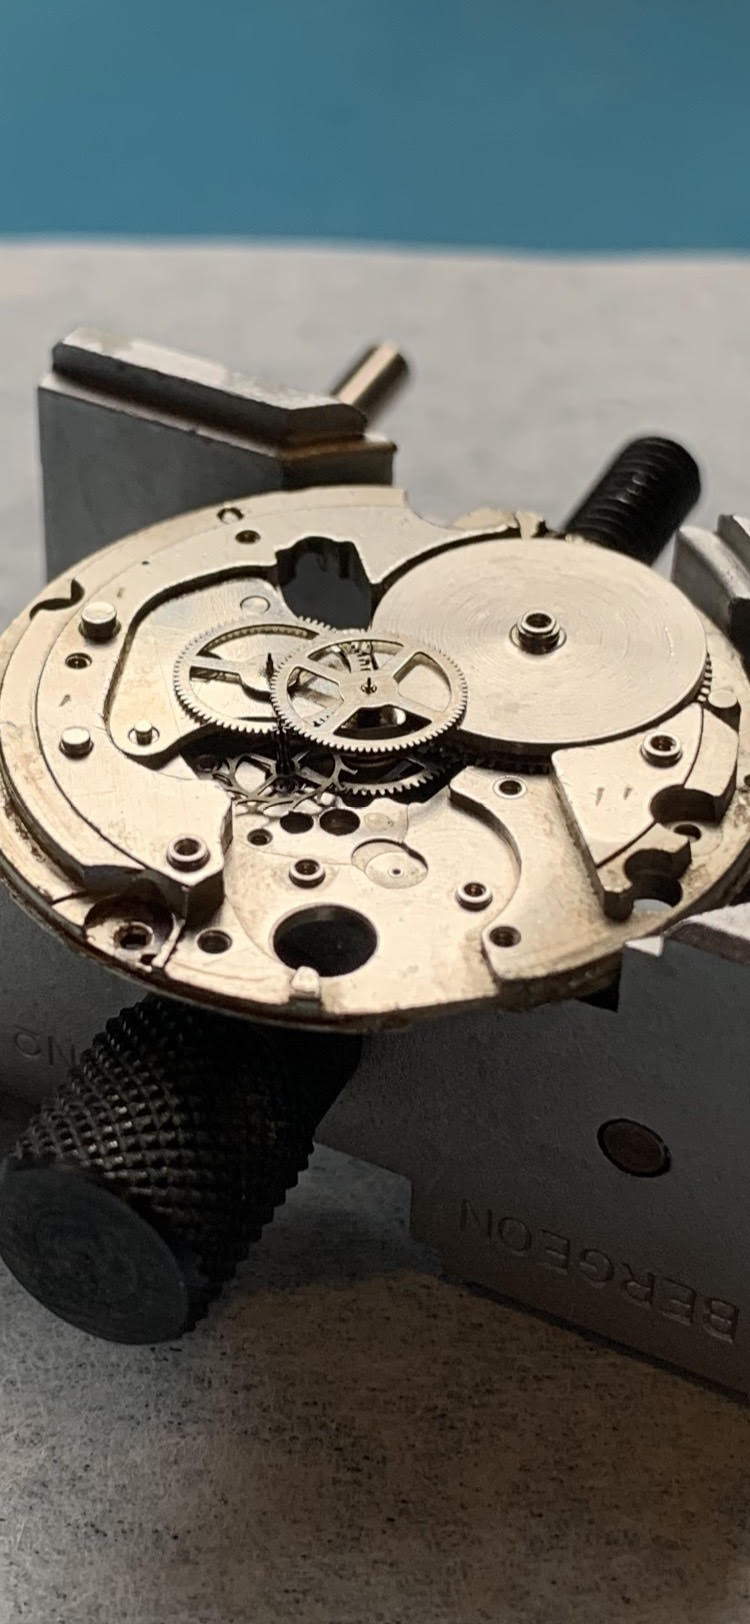
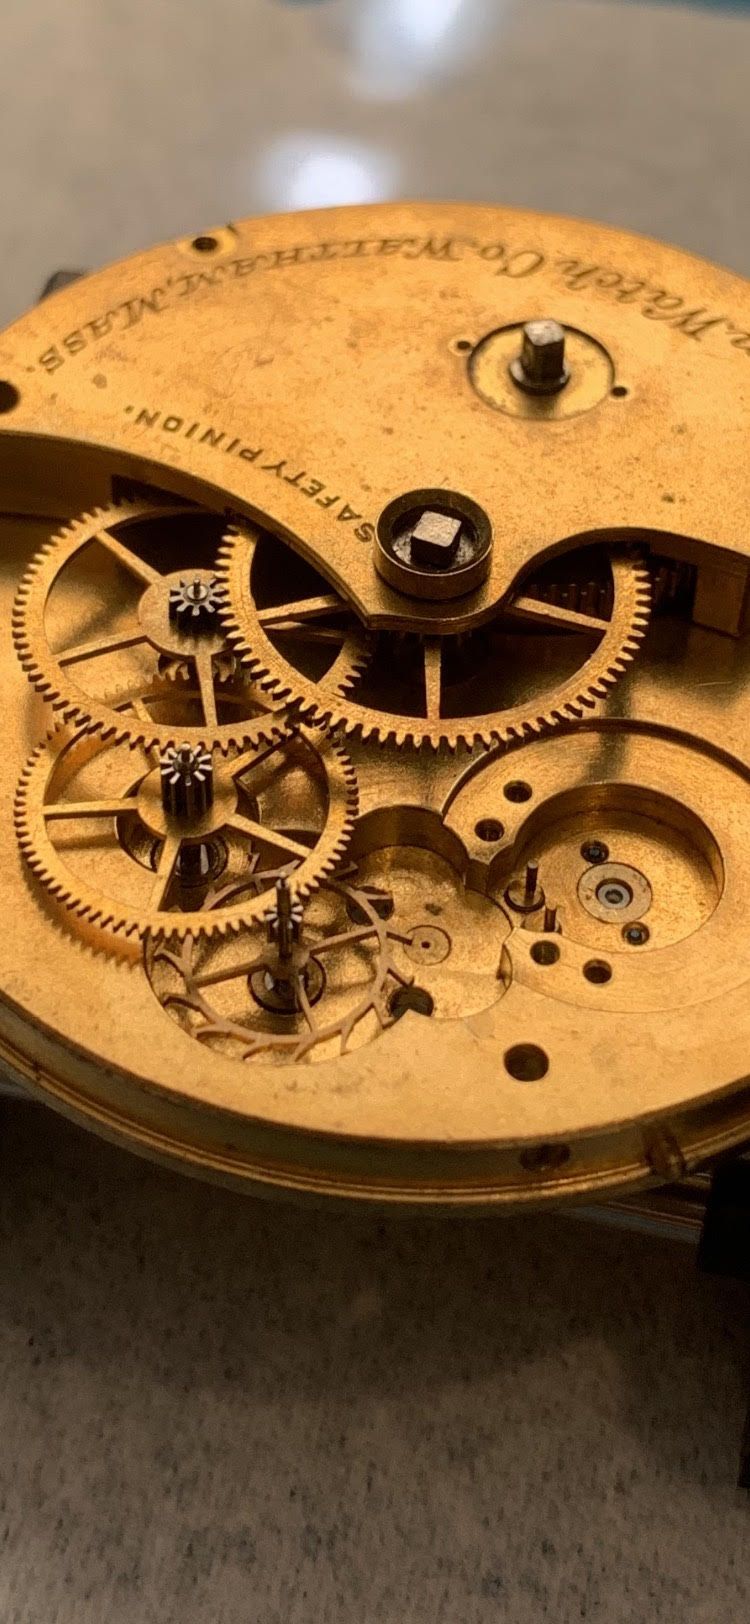
In the picture above, we see the mainspring barrel (sometimes referred to as the "1st wheel") on the far right, the escape wheel on the bottom left of the train and then the other parts of the gear train connecting these. Positioning these wheels correctly can be tricky, they are obviously tiny and their positions have to be perfect or we can't progress to the next step.. securing them with a "bridge"....
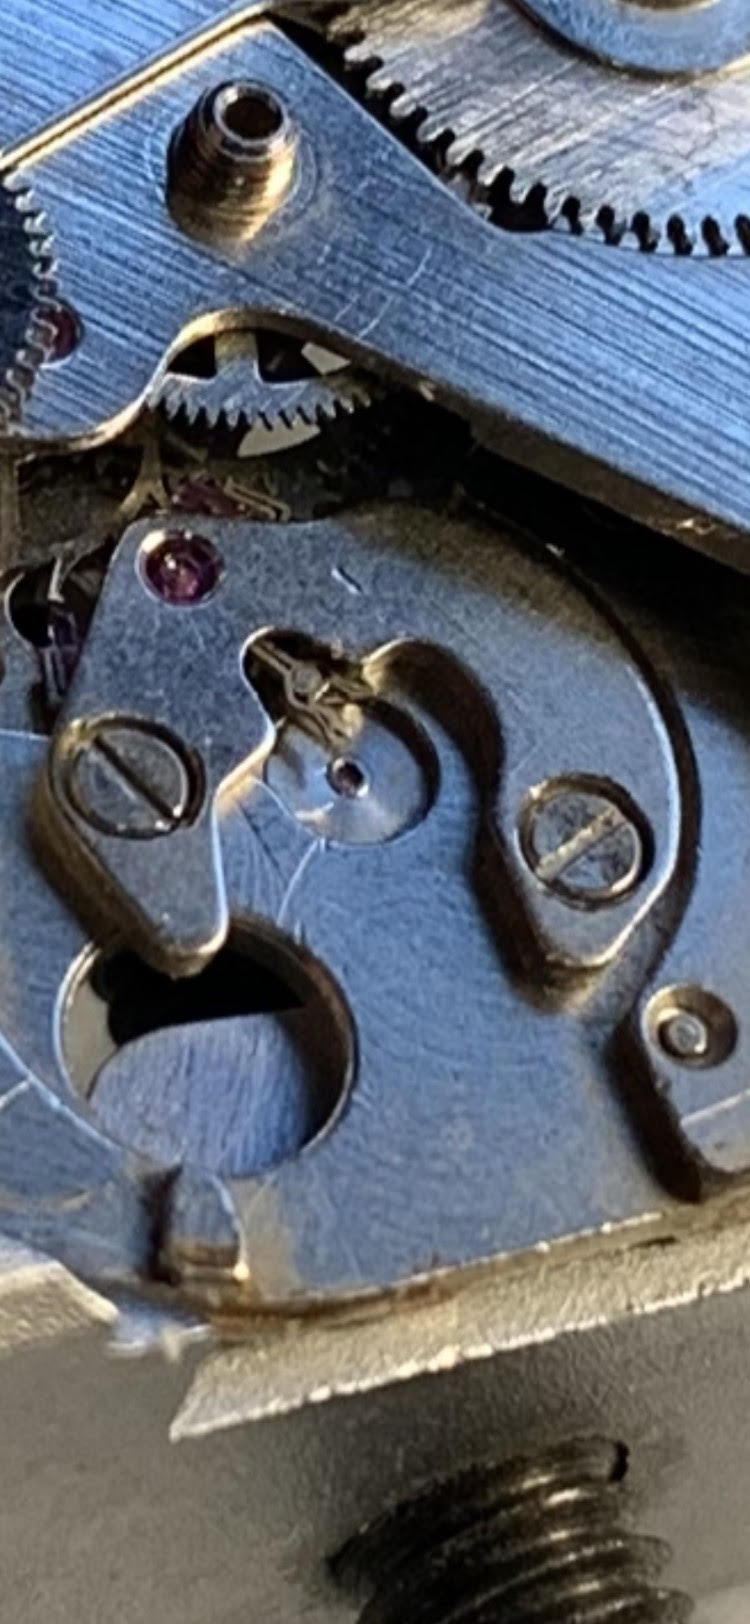
With the main bridge on correctly and screwed into place, we can turn our attention to the ratchet wheel and winding mechanism. These get fitted onto the main bridge. On these Seiko watches, a proprietary Seiko winding mechanism called a "magic lever" is used. I love these things, so clever.. Check out this video showing the "magic lever" in action..
A simple little device but very reliable and efficient.
Regardless of the direction of travel, the little "paws" turn the
ratchet wheel and wind the main spring. When Seiko first came out with this
concept in the 1960's, most automatic watches could only wind "one
way". Obviously, the gear that I am manipulating here will eventually get
connected to a rotor that will spin when the watch is moved around.. That comes
later.
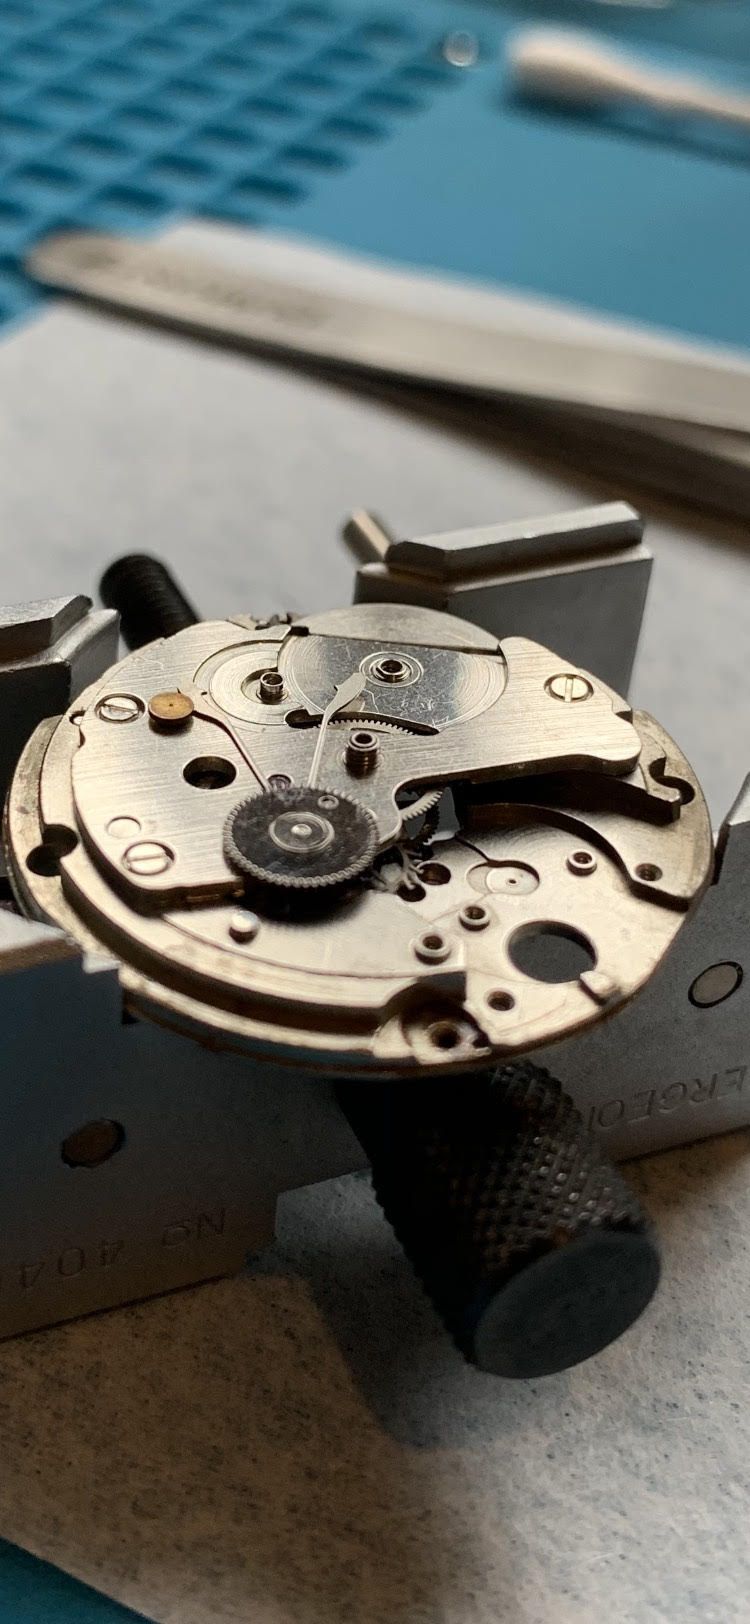
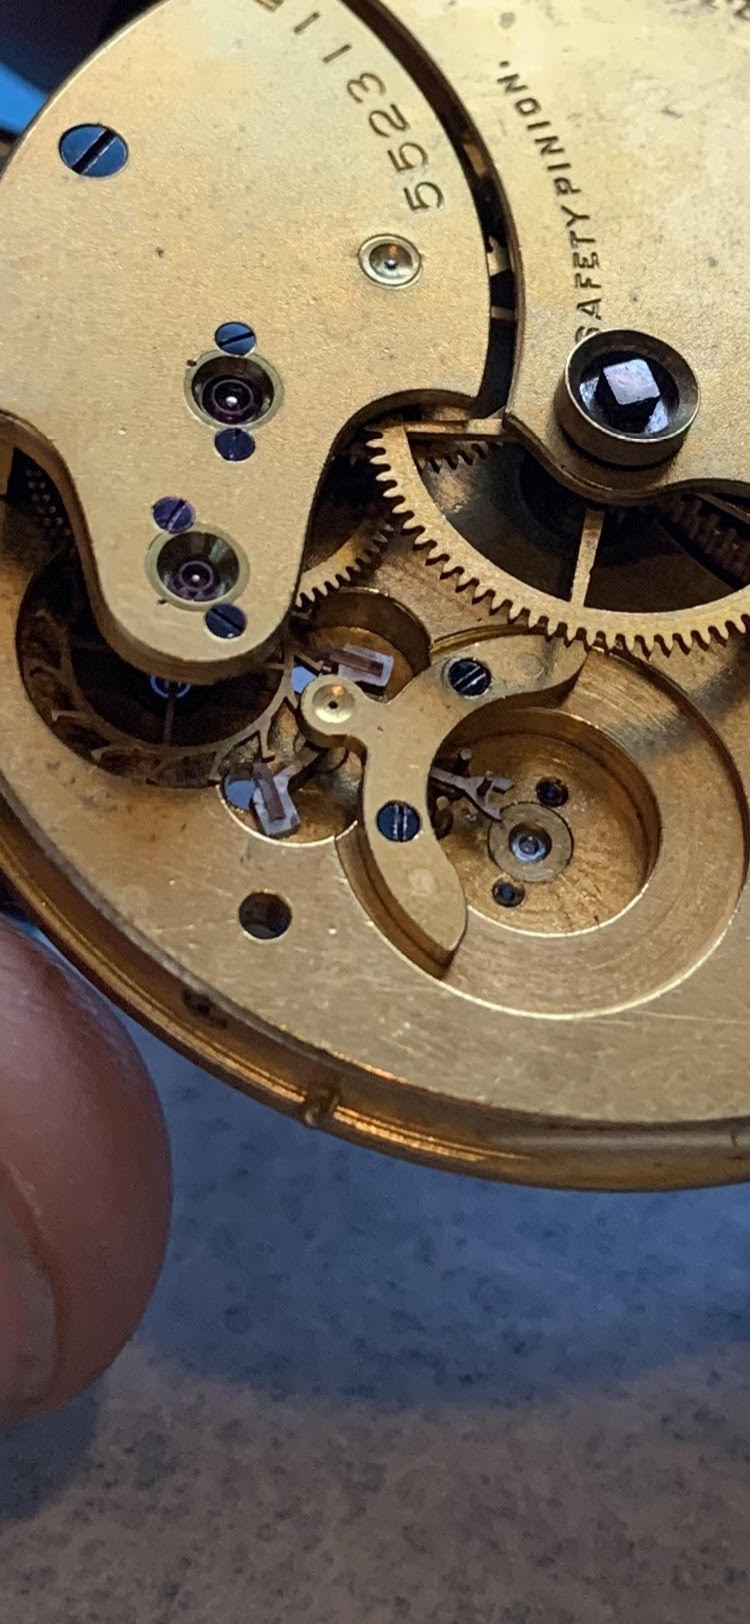
With the gear train, bridge and winding mechanism in place, I can install the
pallet fork and its bridge..
Another fiddly job getting the pallet fork into its jewel
holes.. Kind of hard to see here but the little square-shape purple jewels that
you can see here on either arm of the pallet fork (at 10 O'clock in the picture) swing backwards and forwards, interacting with the escape
wheel (to their left). The other end of the pallet fork (in the middle of the
picture) will swing and knock the balance spring one way and then another, like
a pendulum. This is the "tick tock" that you hear in a mechanical
watch. I'll shoot a video of this happening later.
That's all for this part, next we'll flip the movement over and put the
"keyless works" together..

... And, sure enough, 20 minutes of careful polishing accomplished this..
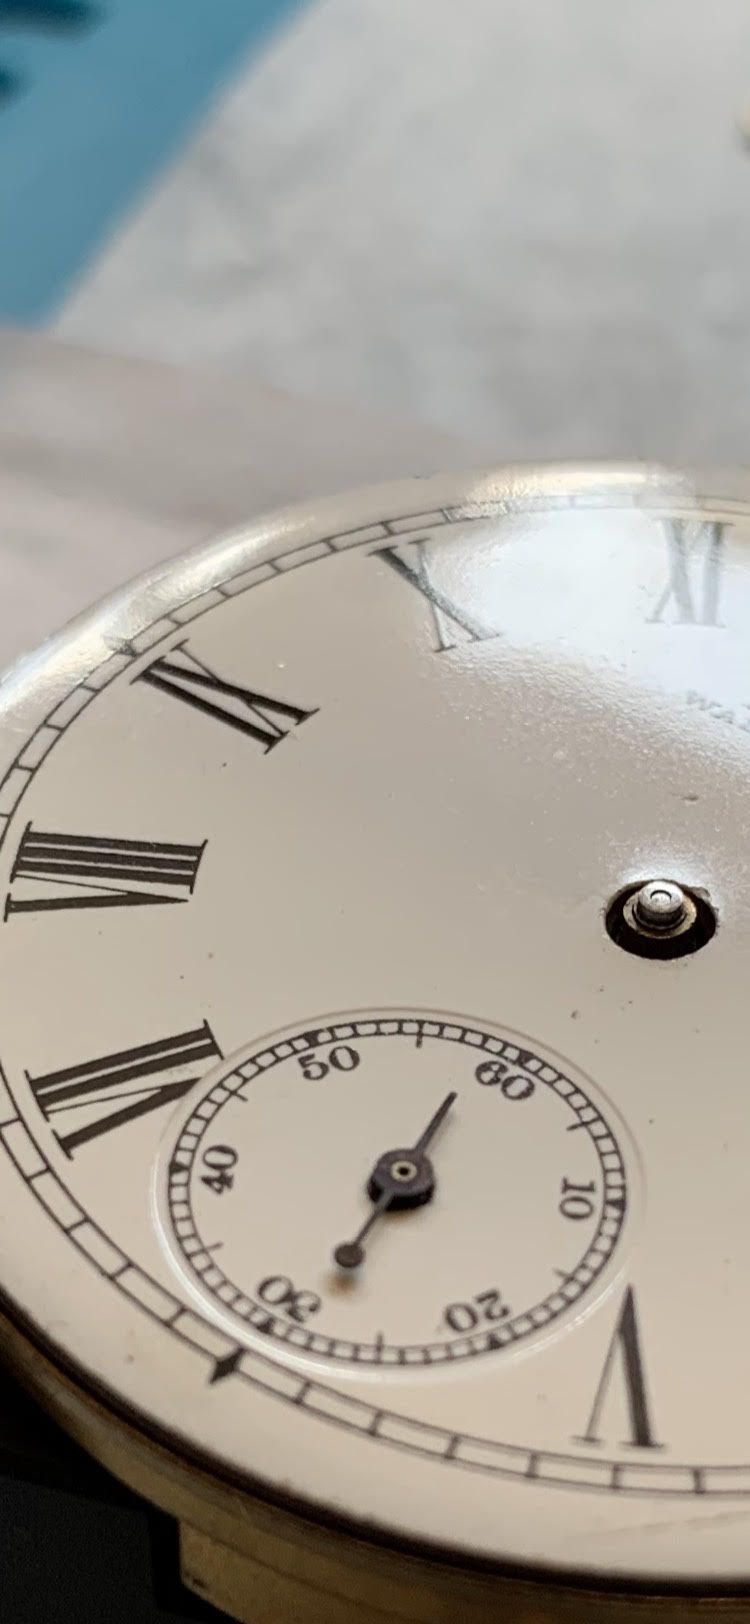
Examining the back of the dial reminds us, once again, of the general quality of components used here.
A careful wind of the mainspring (feels solid and free-moving - click is working well). And....
Here are the components at play for this stage..
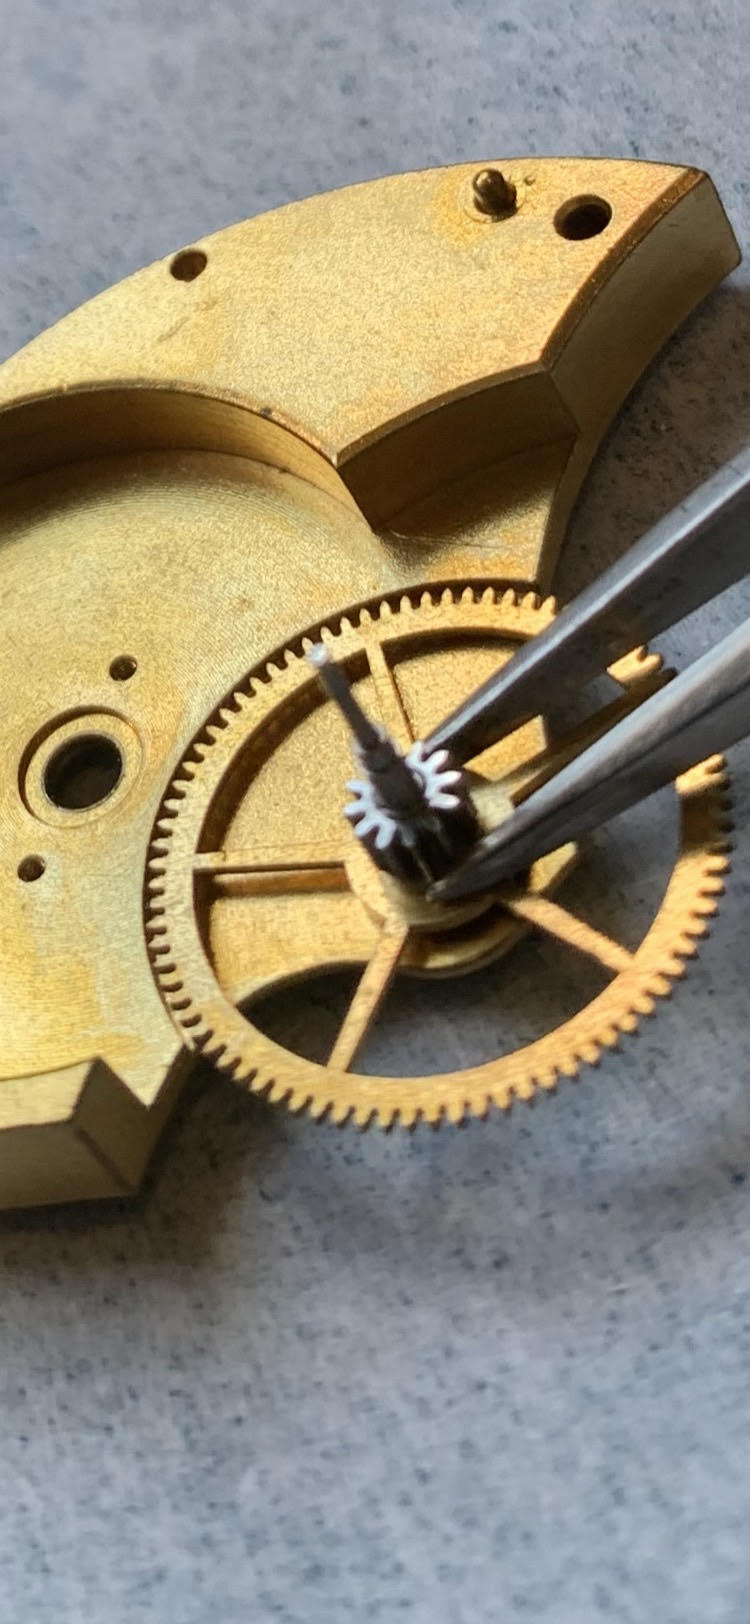
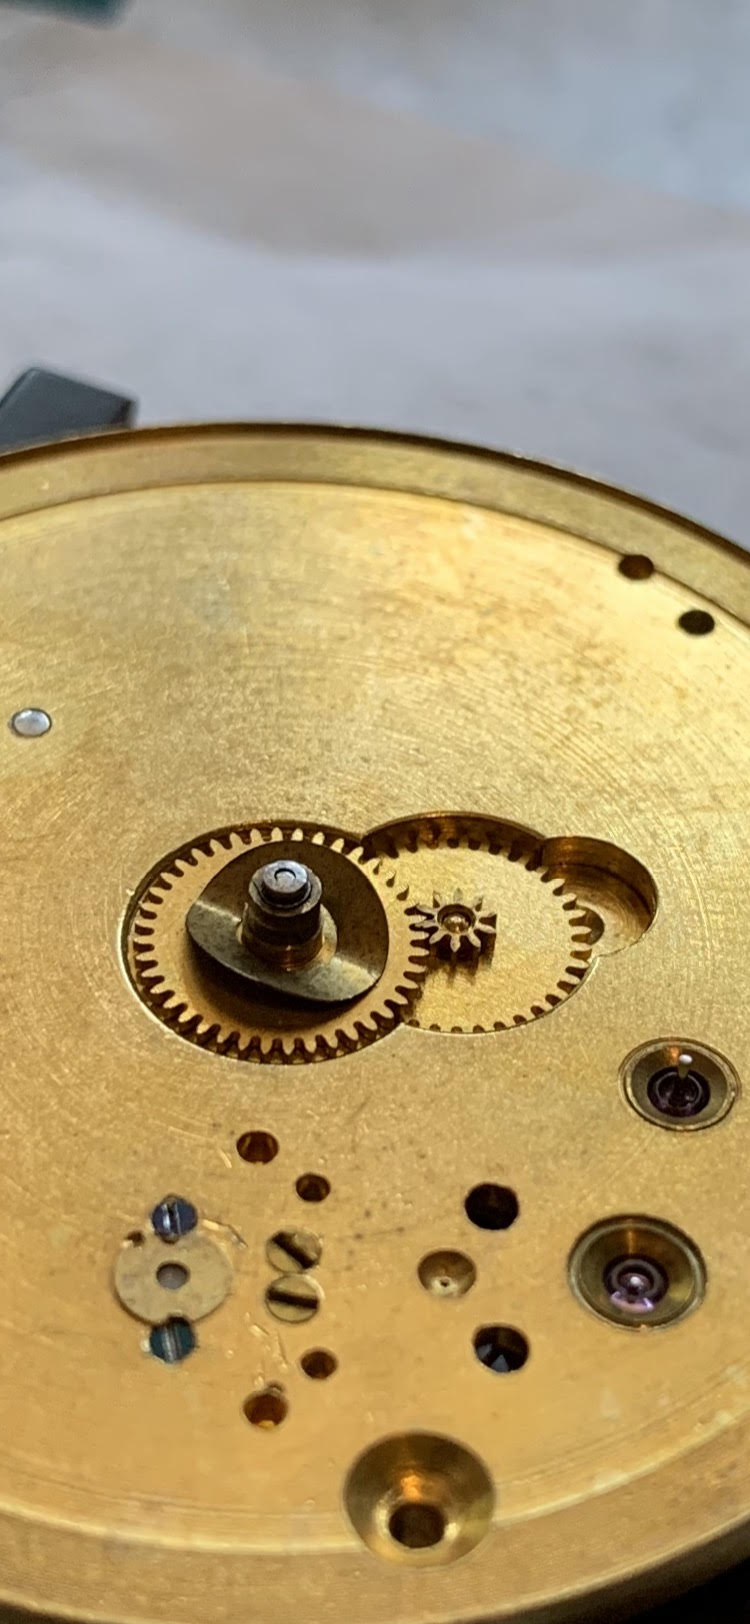
Having inspected the main bridge and centre wheel.. I've found out where that little pinion gear referenced in part 3 lives..
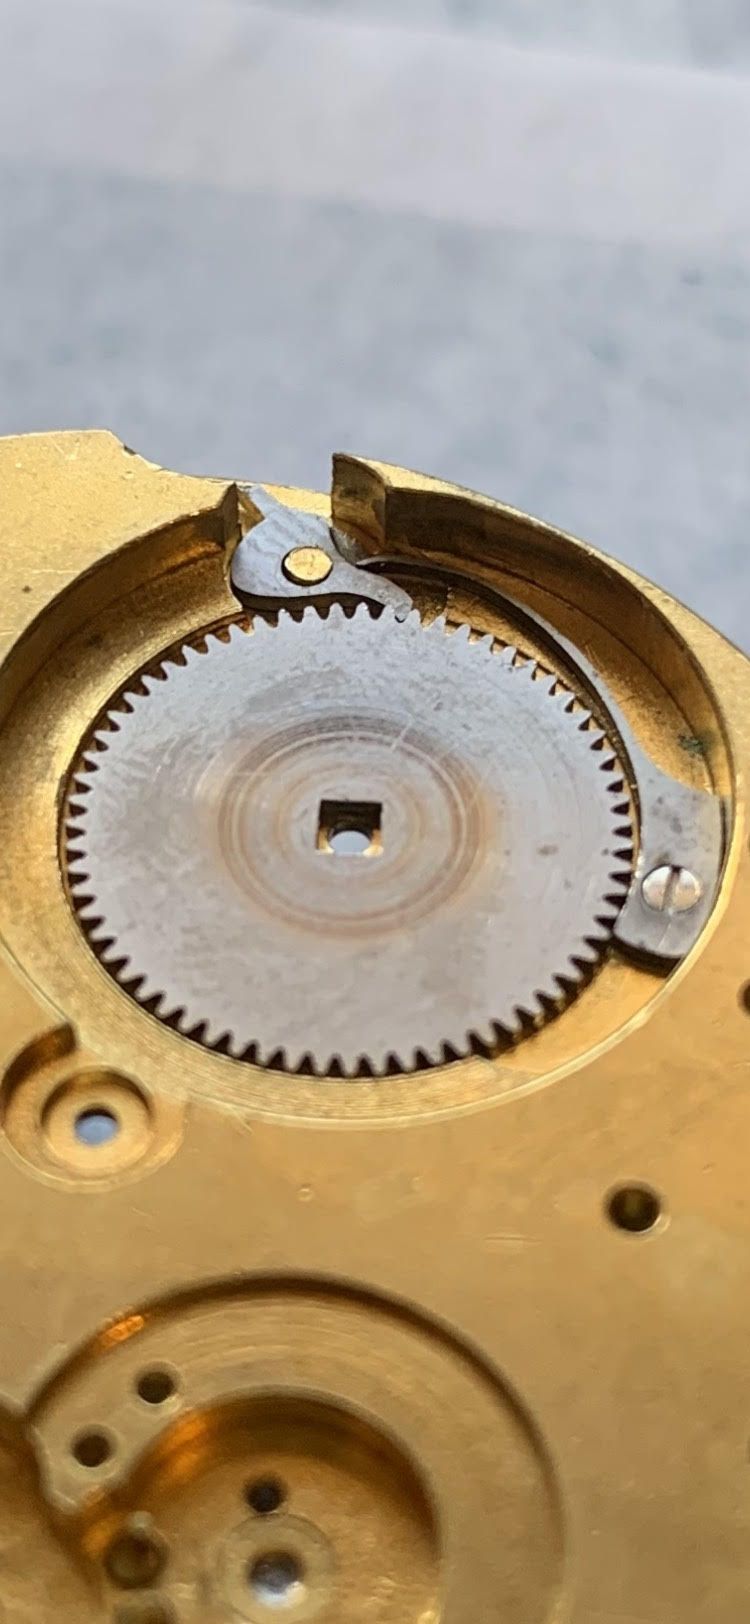
We'll start, as with most watches, with the barrel which houses the mainspring and the associated "click" mechanism (the ratchet that stops the barrel and mainspring from un-winding under tension and the thing that you hear when you wind a watch). Here are the components for this part of the build..
The hairspring is by far the most sensitive watch part. This one looks very dirty but it has a good spiral shape to it, with no parts of that spiral touching other parts of it (which is a common cause of "fast running"). The Waltham spring also has a "Breguet Overcoil" design. This is a specific hairspring design invented by Abraham-Louis Breguet (important watch dude) waaaaay back in the 1700's and, essentially, allows for better performance of the hairspring through varying mainspring tensions (watches tend to slow down as a mainspring loses power and go faster when it is fully wound).
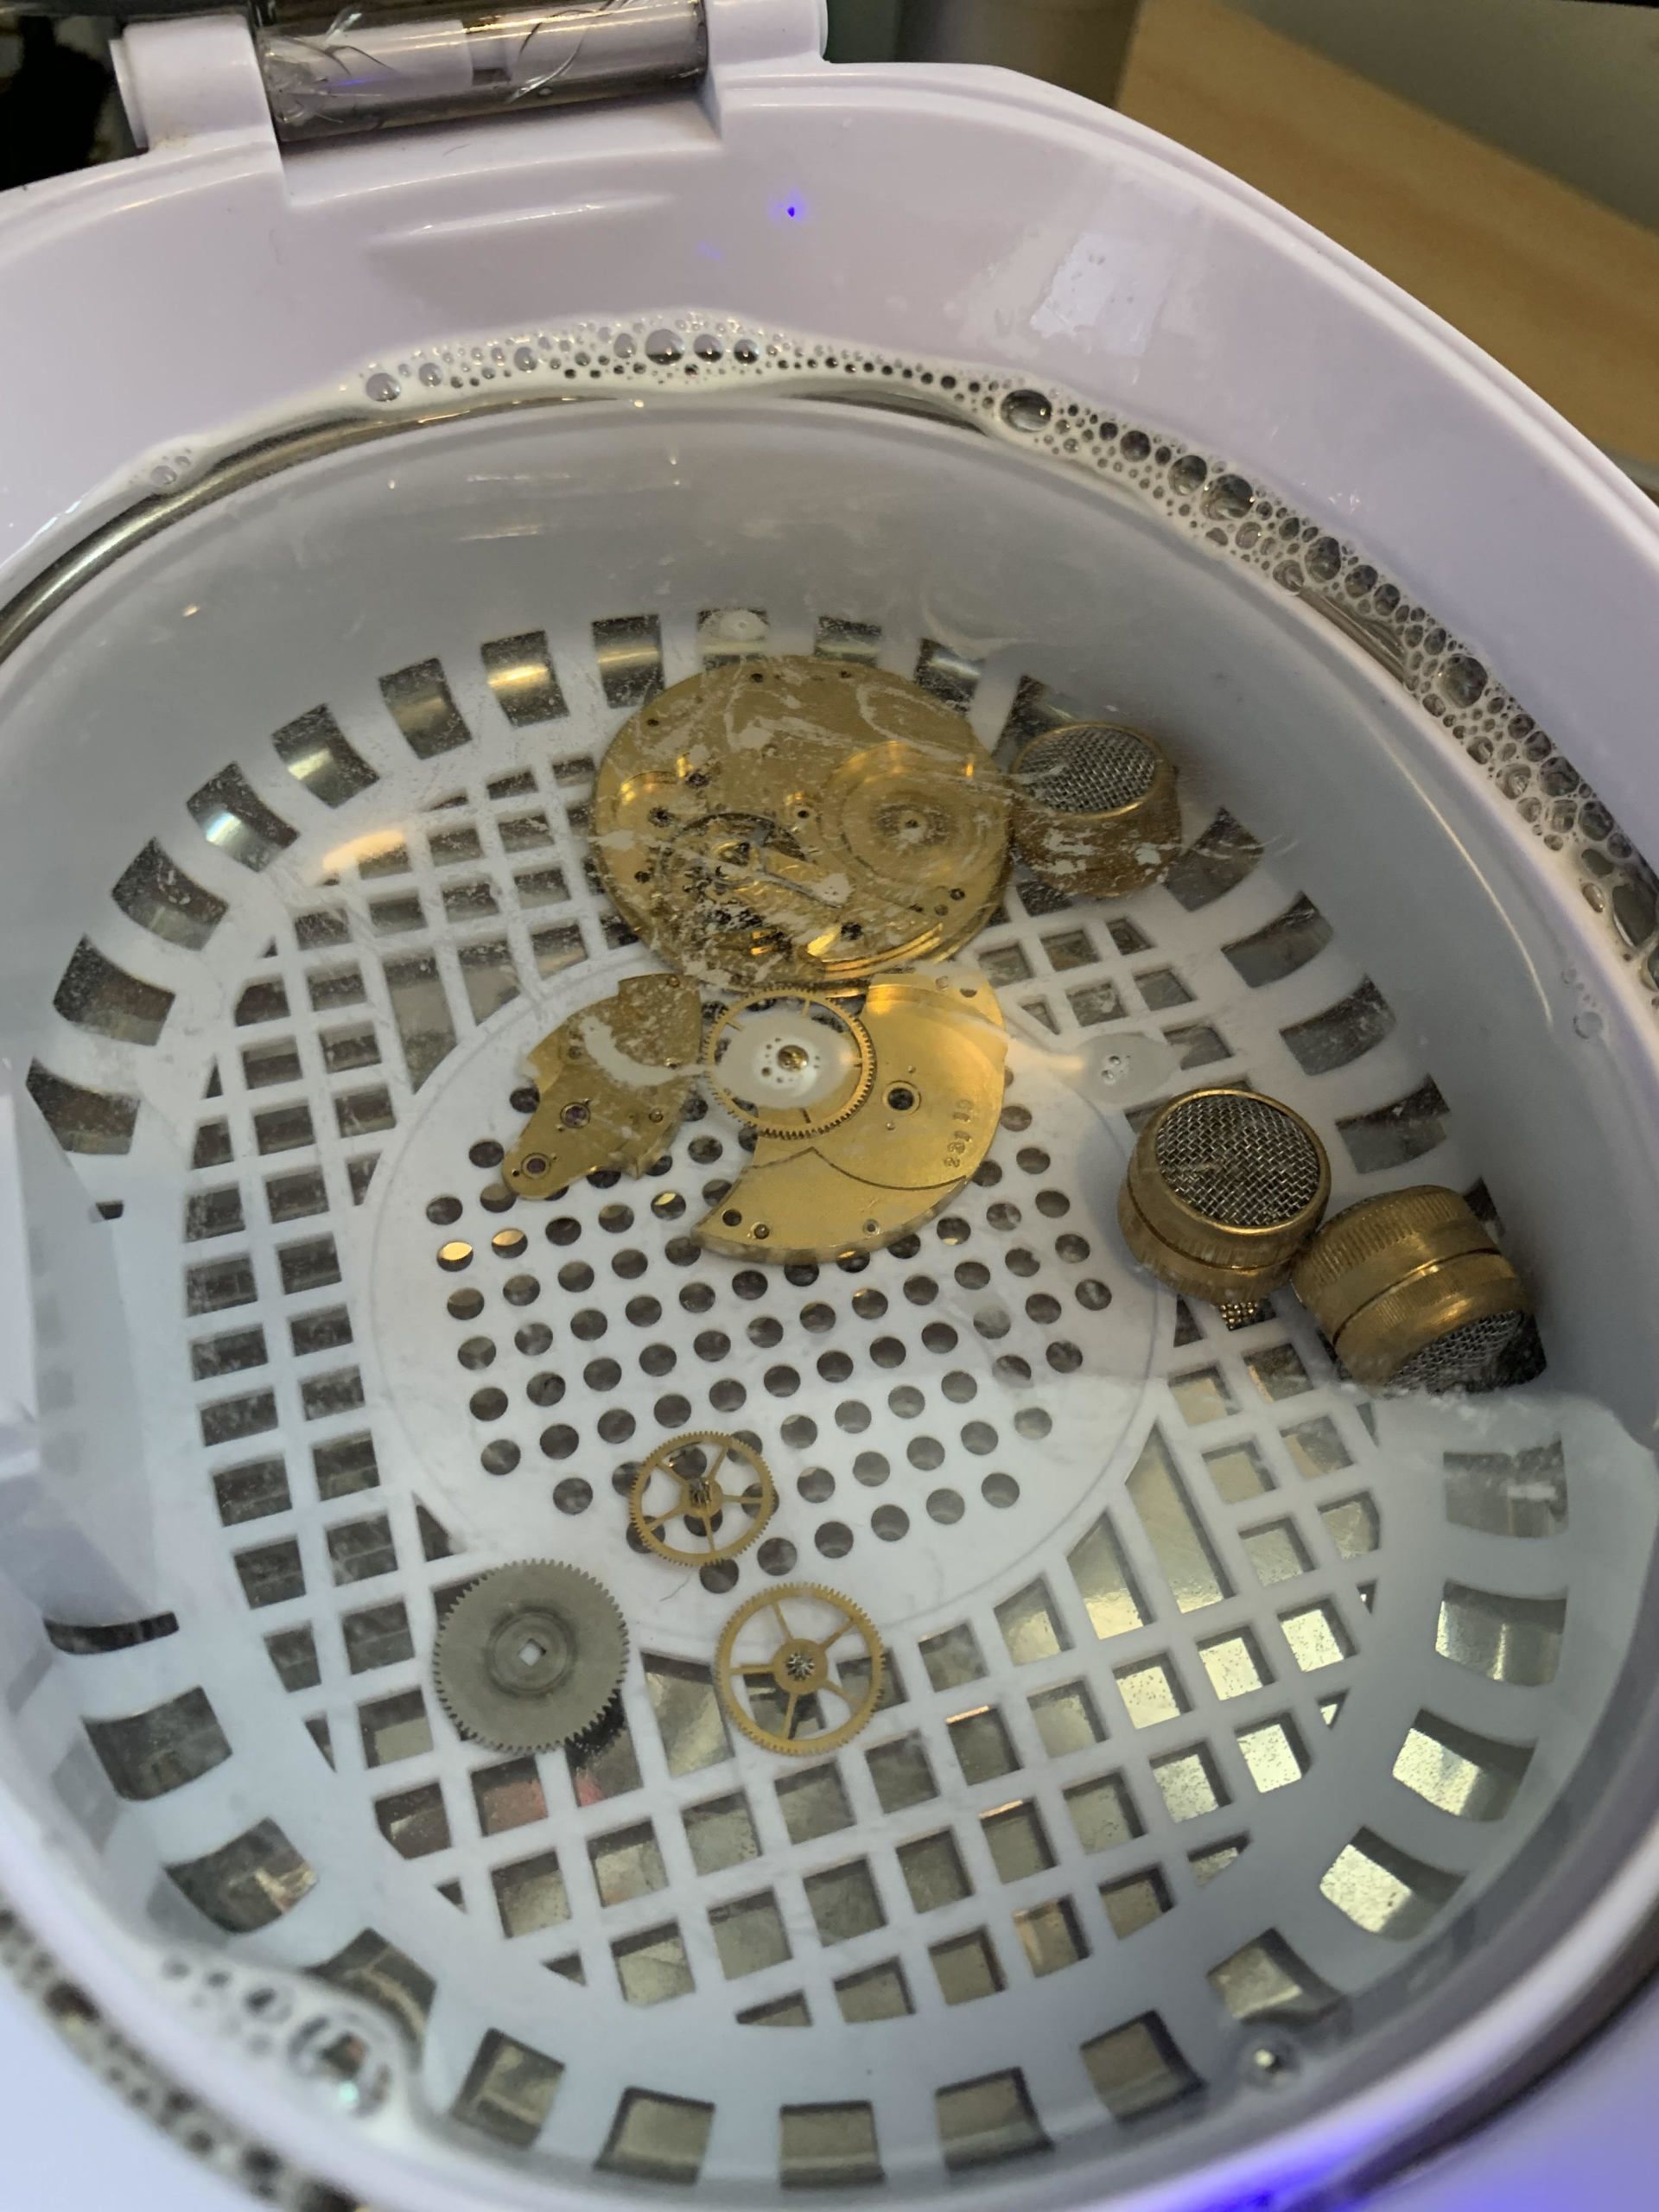
I'm going to clean this movement using my ultra-sonic cleaner and, to do that, I like to mount the balance and hairspring in the main plate to keep it safe during cleaning..
As a watchmaker, one thing that you will certainly accumulate in time is PARTS. They come from watches that never got repaired, over-ordering when you only need one of something and a seller will only sell you 10 and, frankly.....Well, I don't know where many of them come from... but come they do. Here's a sneaky peak at ONE of my many "parts drawers"..